 FlaskConnect™
Home › Apparatus gallery › Reflux apparatus
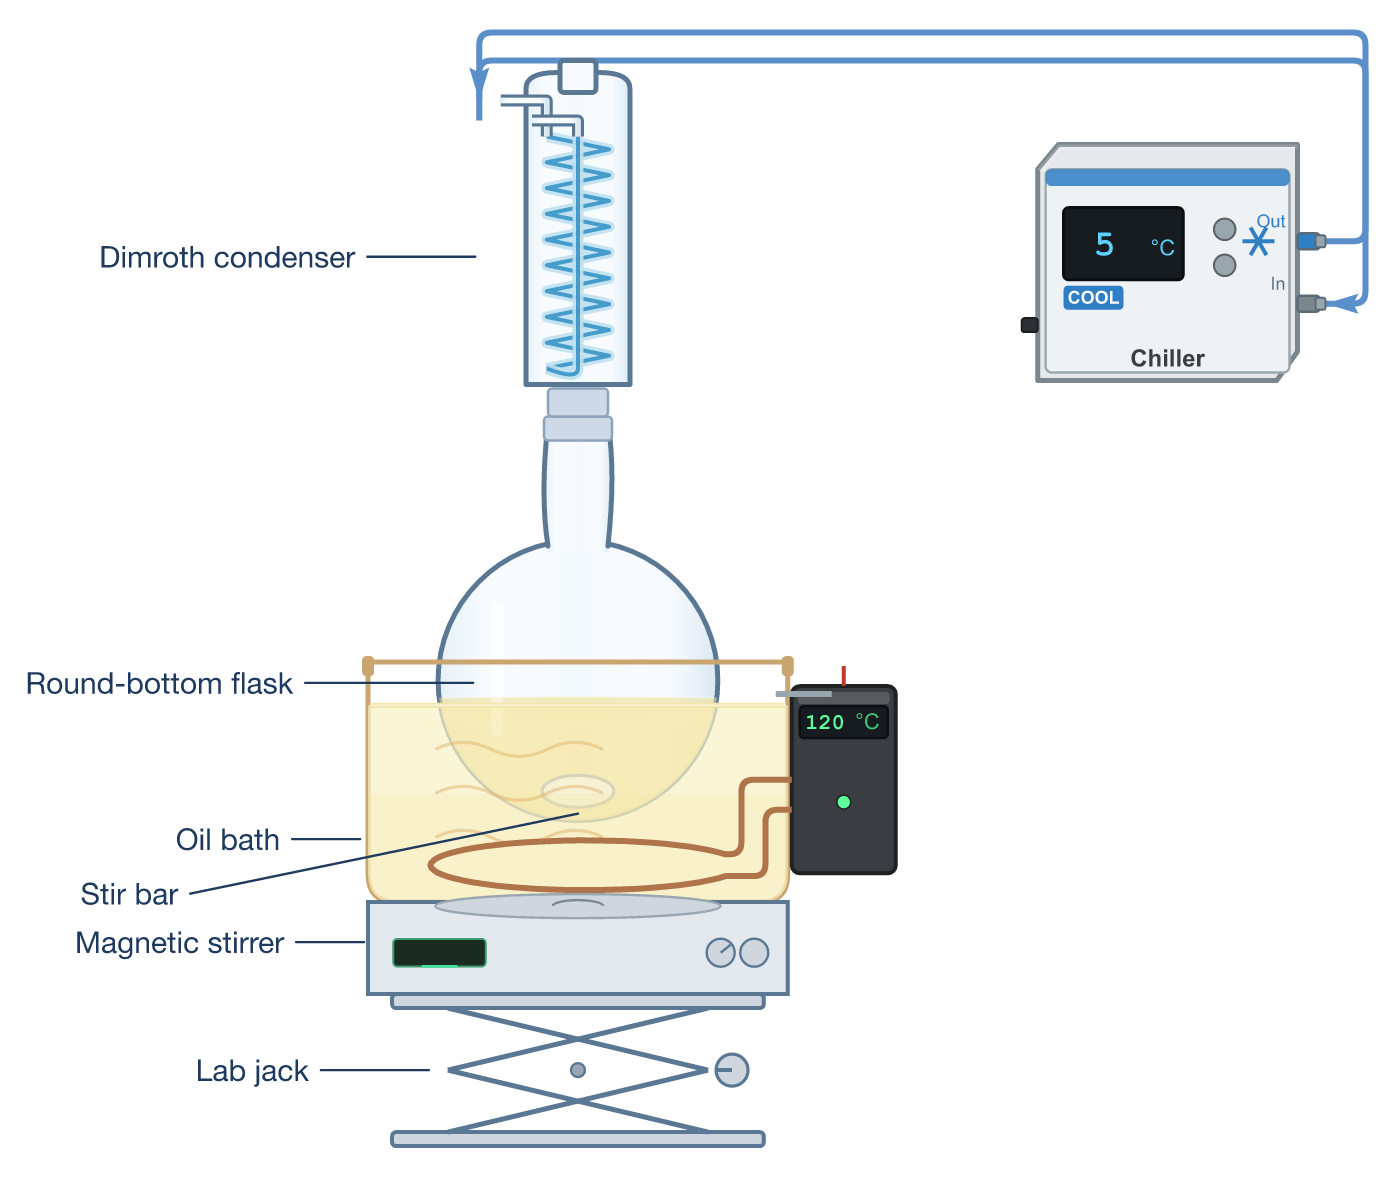
Reflux Apparatus Diagram (Labeled, Free SVG/PNG)
A reflux setup heats a reaction at the boiling point of the solvent for a long time. Vapor condenses in the condenser and drips back into the flask, so no solvent is lost.
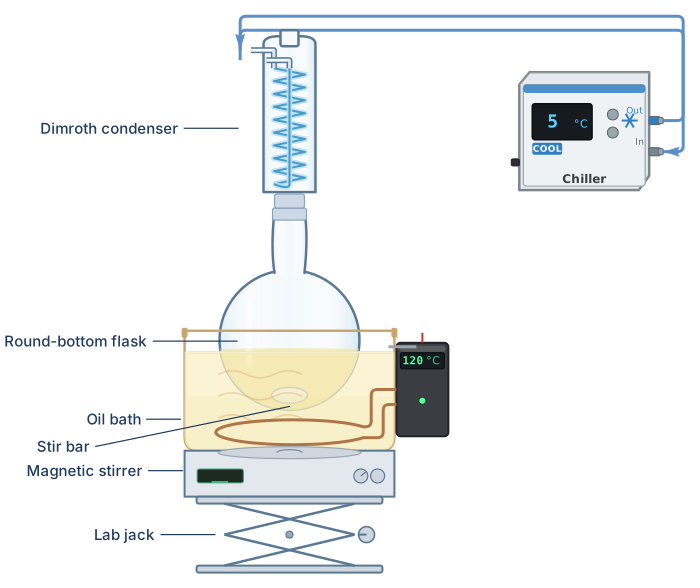
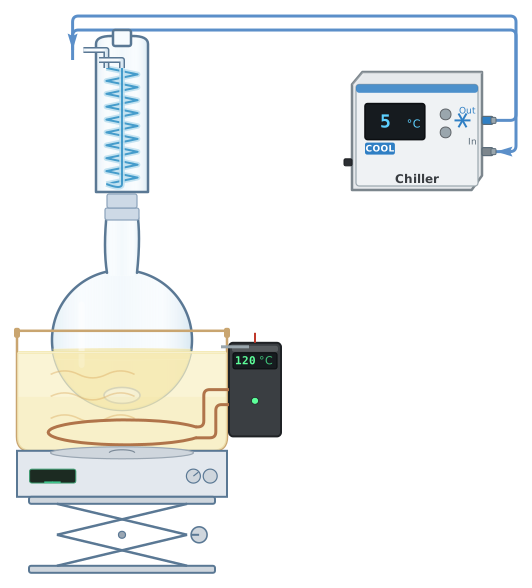
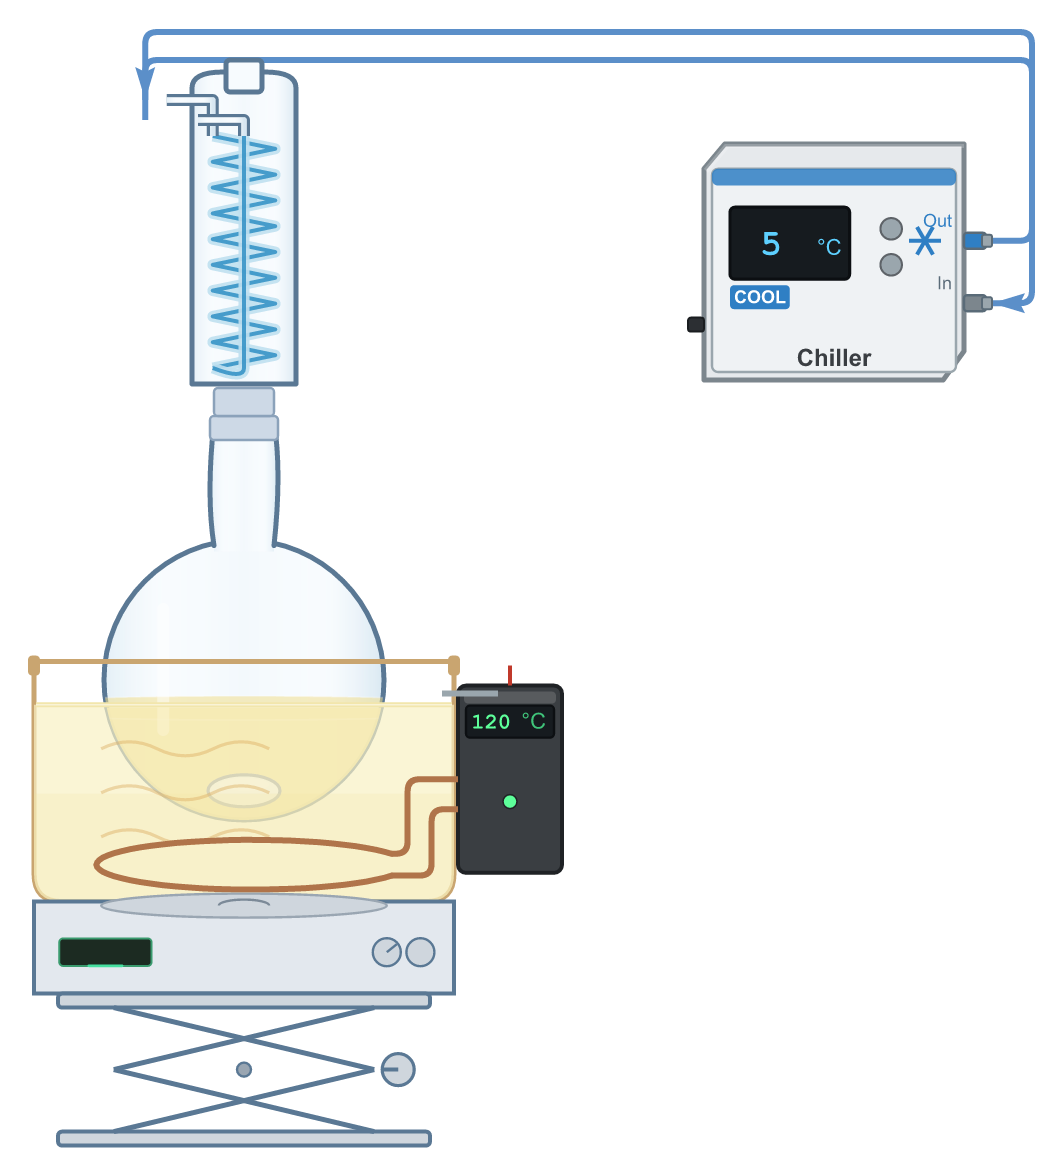
Free to use without attribution in lab reports, theses, teaching materials, slides, supporting information and on the web, including modified and commercial use. Released under CC0 1.0 (public domain dedication). A mention of “made with FlaskConnect” is appreciated but not required.
Equipment
- Round-bottom flask
- Dimroth condenser (an Allihn or Liebig condenser also works)
- Oil bath (or heating mantle)
- Magnetic stirrer and stir bar
- Lab jack
- Coolant (chiller or tap water)
Setup tips
- Leave the top of the condenser open to the air. Heating a sealed system builds pressure and can break the glassware. To keep out moisture or air, fit a drying tube or an inert-gas balloon or bubbler.
- Stir with a stir bar, or add boiling chips before heating, to prevent bumping.
- Start the coolant before heating. In a Liebig or Allihn condenser, water goes in at the lower inlet and out at the upper outlet so the jacket stays full (a Dimroth condenser feeds its internal coil through two ports at the top).
- Fill the flask no more than half full.
- Set the bath on a lab jack so it can be lowered quickly.
- Adjust the bath so the vapor condenses in the lower third of the condenser (a visible reflux ring).
Common mistakes
- Stoppering the top of the condenser while heating (a sealed system).
- Running coolant in at the top and out at the bottom, leaving the lower jacket empty.
- Adding boiling chips to a hot liquid (it bumps; cool first).
- Overfilling the flask so boiling liquid rises into the condenser.
Always follow your institution's safety rules and your supervisor's instructions.
Watch it built
Building this setup in FlaskConnect (with narration).
Draw this in the app
This diagram was drawn in FlaskConnect. Pick the glassware and it connects itself, coolant lines and all, in a few minutes. Apparatus drawing and export (SVG, PNG, PowerPoint, Word, Excel) are free.