 FlaskConnect™
Home › Apparatus gallery › Simple distillation
Simple Distillation Apparatus Diagram (Labeled, Free SVG/PNG)
Simple distillation separates liquids with widely different boiling points and purifies solvents. The vapor is condensed in a condenser and collected in a receiver.
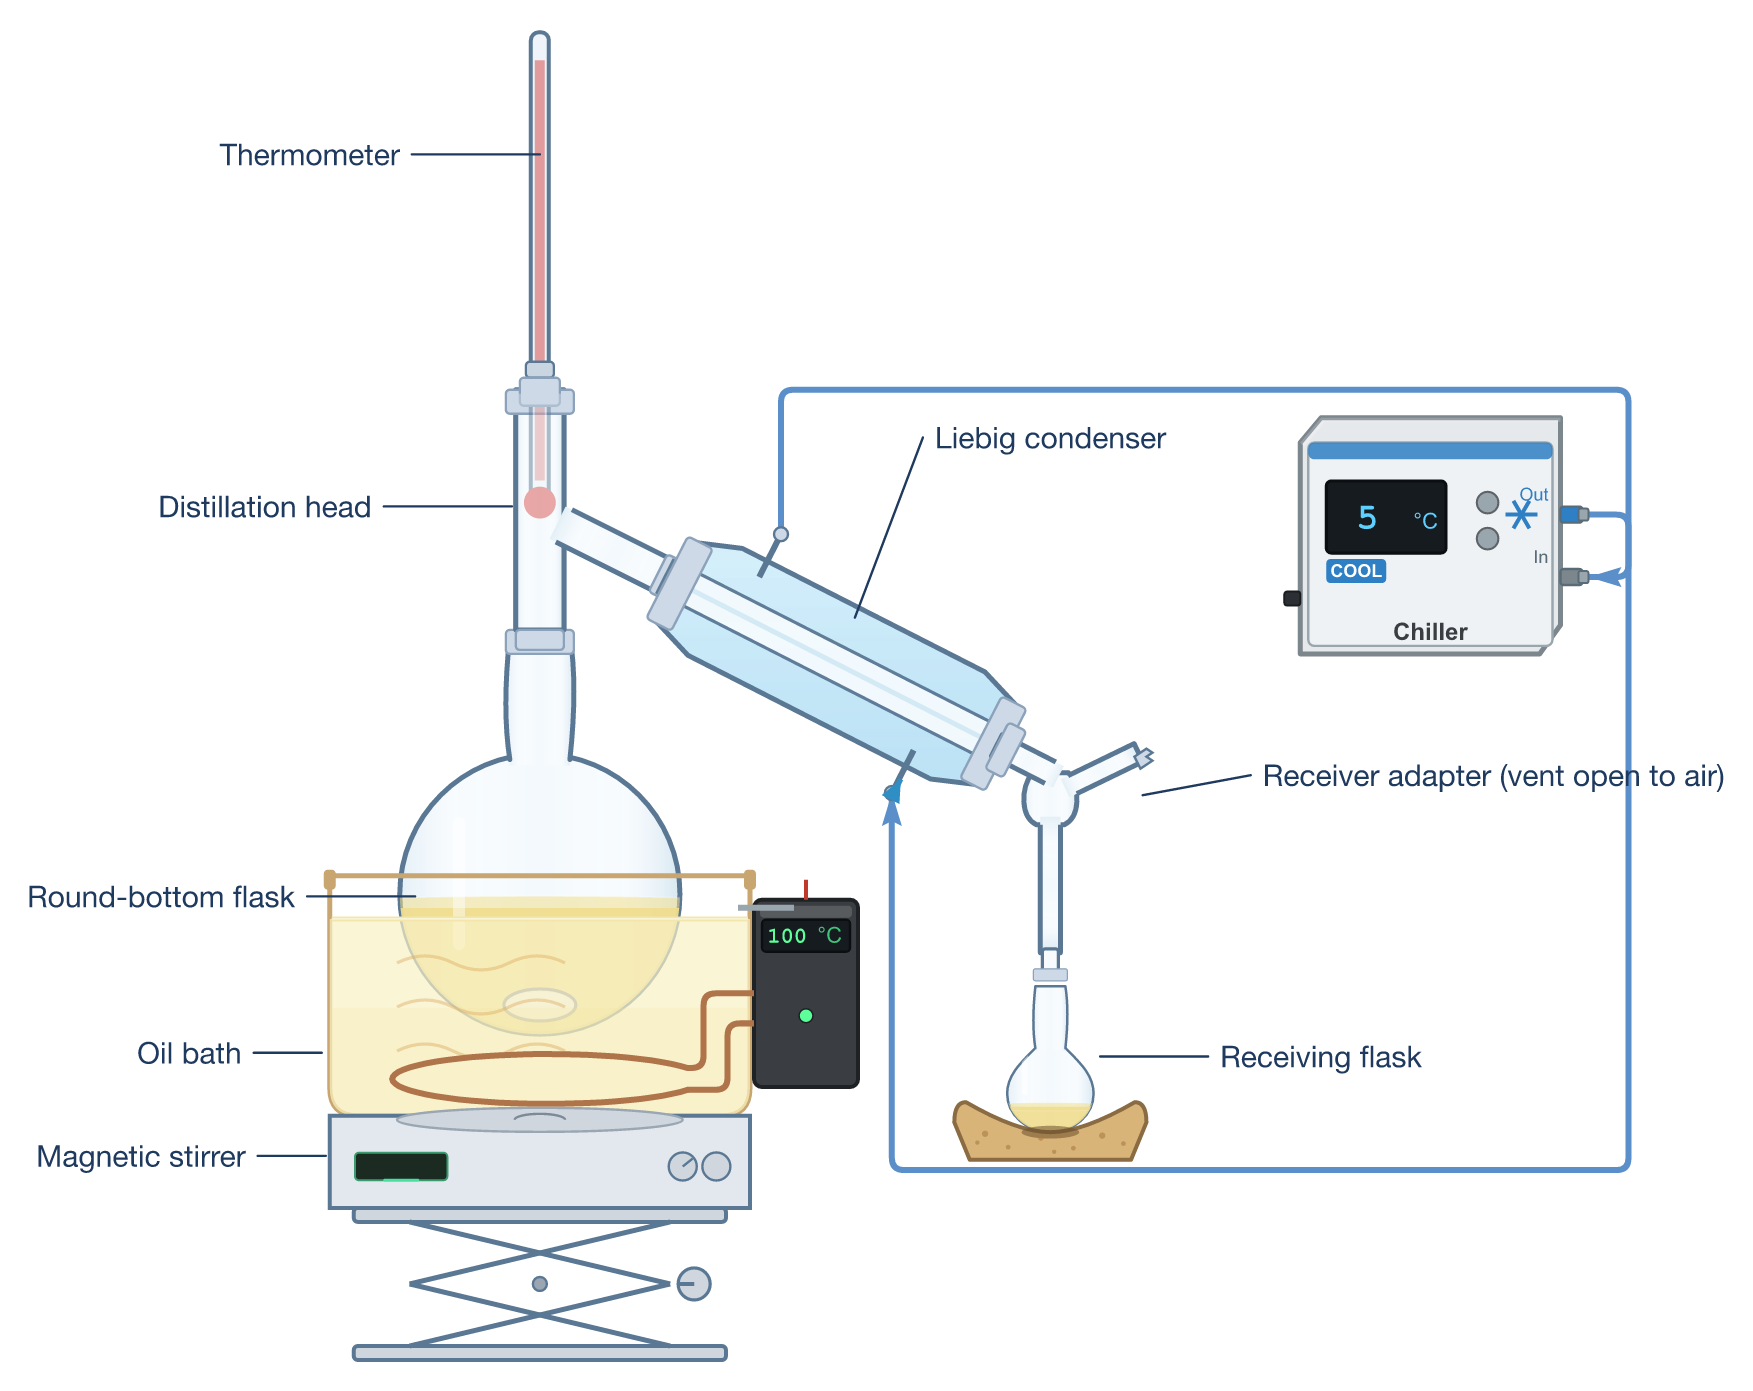
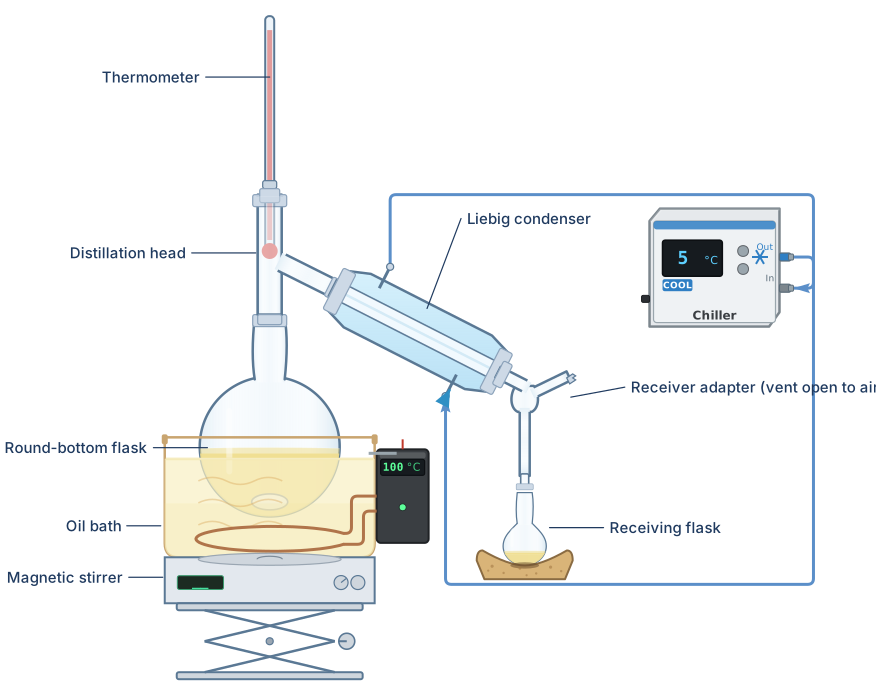
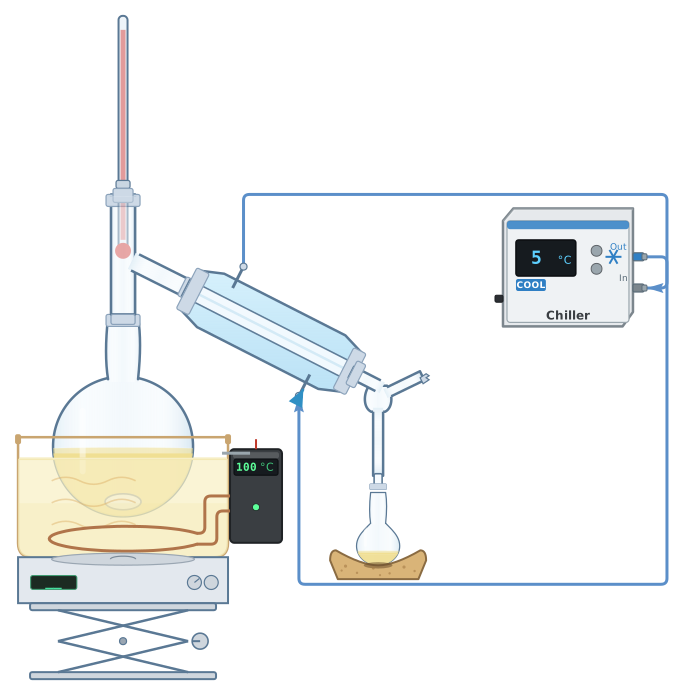
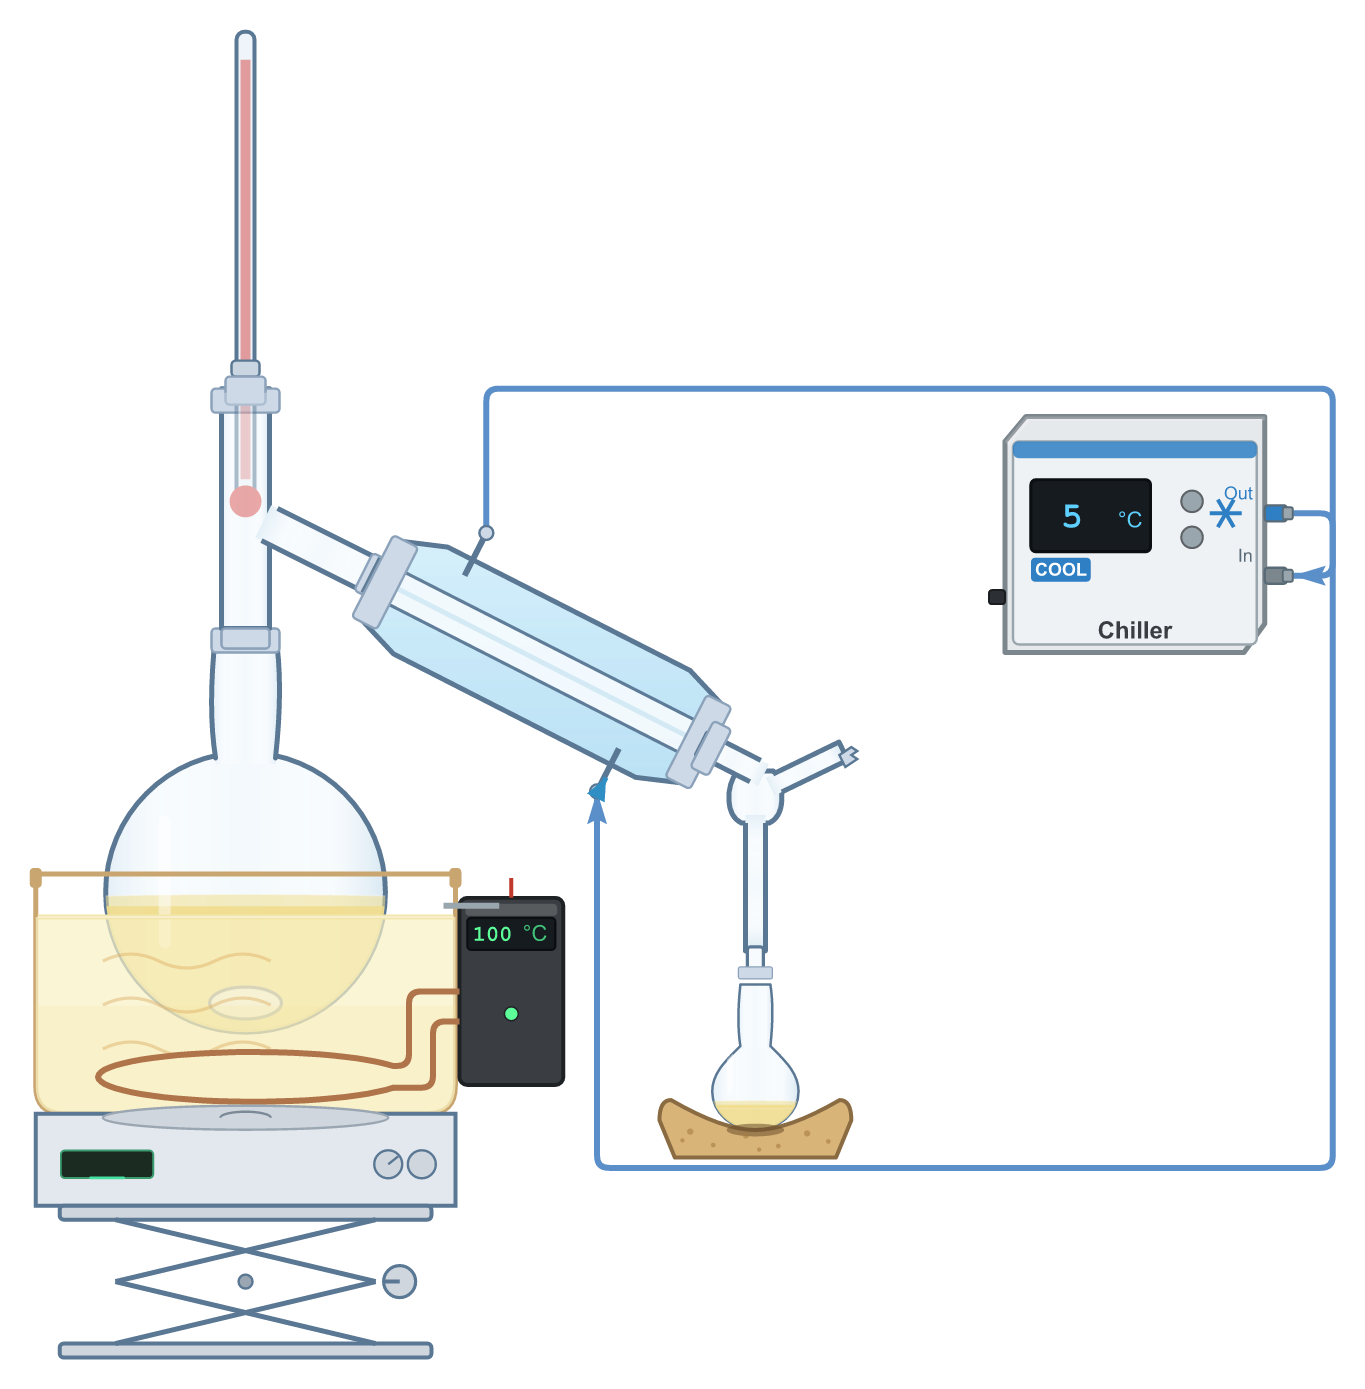
Free to use without attribution in lab reports, theses, teaching materials, slides, supporting information and on the web, including modified and commercial use. Released under CC0 1.0 (public domain dedication). A mention of “made with FlaskConnect” is appreciated but not required.
Equipment
- Round-bottom flask
- Distillation head
- Thermometer
- Liebig condenser
- Receiver (vacuum) adapter with a side arm
- Receiving flask
- Oil bath, magnetic stirrer and stir bar
- Coolant
Setup tips
- Set the top of the thermometer bulb level with the bottom of the side arm of the distillation head. Too high or too low and it will not read the vapor temperature (the boiling point) correctly.
- Keep the system open to the air somewhere (leave the side arm of the receiver adapter open). Never heat a closed system.
- Run the coolant in at the lower inlet and out at the upper outlet so the jacket stays full.
- Prevent bumping with a stir bar or boiling chips.
- Fill the flask no more than half to two-thirds, and never distill to dryness (especially dangerous with solvents that may contain peroxides).
- Cool the receiver in ice water to keep volatile fractions from escaping.
Common mistakes
- The thermometer bulb sits above the side arm (reads low) or in the liquid.
- Coolant enters at the top, so the condenser never fills.
- The receiver side is sealed too (side arm blocked).
- Distilling until the flask is dry.
Always follow your institution's safety rules and your supervisor's instructions.
Draw this in the app
This diagram was drawn in FlaskConnect. Pick the glassware and it connects itself, coolant lines and all, in a few minutes. Apparatus drawing and export (SVG, PNG, PowerPoint, Word, Excel) are free.